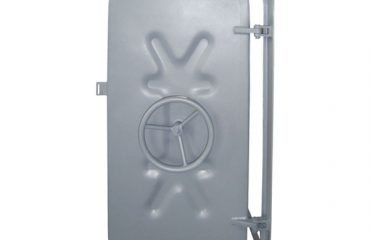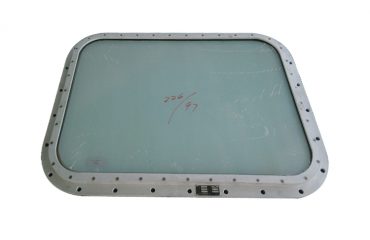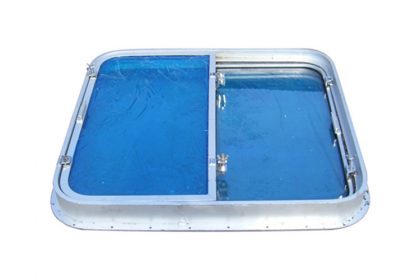
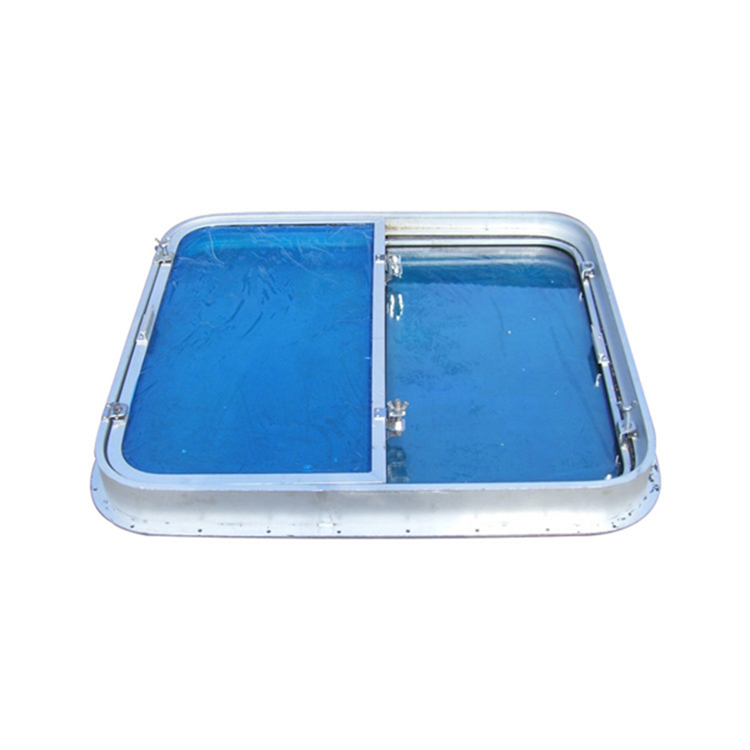
Proper installation of ship windows is essential for ensuring the safety and functionality of the vessel. The installation process can be complex and requires careful attention to detail. In this guide, we will provide step-by-step instructions on how to properly install ship windows.
Step 1: Choose the Right Windows Before you begin the installation process, make sure you have chosen the right windows for your ship. Consider factors such as the size, shape, and material of the windows. It is important to select marine windows that are durable, watertight, and able to withstand the harsh marine environment.
Step 2: Prepare the Window Opening Before installing the windows, the window openings must be prepared properly. The opening should be clean, dry, and free of any debris or obstructions. Make sure the opening is properly sized to accommodate the windows and that the surrounding area is smooth and level.
Step 3: Apply Sealant To create a watertight seal around the windows, it is essential to apply a high quality marine sealant. Apply the sealant around the edges of the window opening, making sure to cover all areas where water could potentially seep through. Be sure to use a sealant that is compatible with the material of the windows and the surrounding structure.
Step 4: Install the Windows Carefully position the windows into the prepared opening, making sure they fit securely and snugly. Use screws or bolts to fasten the windows in place, ensuring that they are properly secured. Be sure to follow the manufacturer’s instructions for the installation of the windows, as each type may have specific requirements.
Step 5: Seal the Edges Once the windows are securely in place, seal the edges with a final layer of marine sealant. This will ensure that the installation is watertight and will help prevent any water leakage. Smooth out the sealant with a putty knife or sealant tool to create a clean and neat finish.
Step 6: Test for Leaks After the windows are installed and sealed, it is important to test them for leaks. Spray water around the edges of the windows and check for any signs of water seepage. If you notice any leaks, reapply sealant as needed until the windows are completely watertight.
Step 7: Finish the Installation Once the windows are properly installed and tested for leaks, you can finish the installation by cleaning up any excess sealant and ensuring that the windows are securely fastened. Check that the windows open and close smoothly and that they are functioning properly.


